
![]()
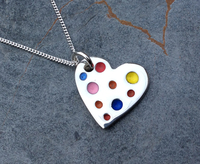
Silver Clay & UV Resin Pendant Tutorial
Project Level: Beginner
Materials:
* Art Clay Silver 20g
* Come of these fabulous UV Colours
* Sterling Silver Jumpring
* Sterling Silver Chain (optional)
Tools Needed:
* Plastic Coated Playing Cards or Acrylic Spacers
* Acrylic Roller
* Badger Balm
* Heart Template or Cutters
* Clay Pick
* Ball Burnisher
* Sanding Pads
* Polishing Papers
* UV Light
* Tooth Pick
* Flat Nose Pliers
* Hand Drill or Pin Vice
* Agate Burnisher
* Soft Brass Brush
Instructions:
Step 1: Lubricate one playing card with
a little badger balm, rubbing excess into your fingertips and hands. Place 8
playing cards either side of your lubricated card. Roll silver clay into a ball
and place in the middle of the playing card.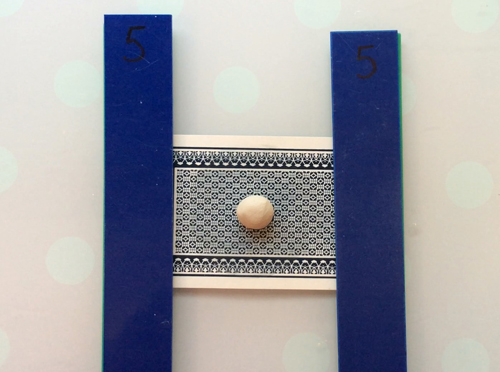
Step 2: Using the acrylic roller, roll
the silver clay until flat and even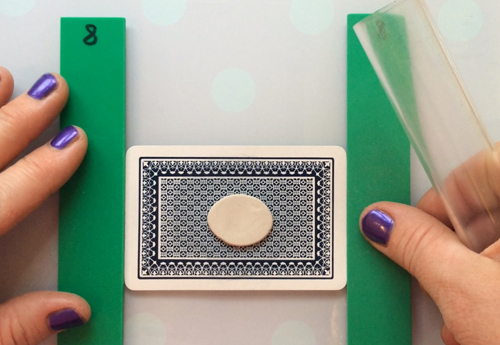
Step 3: Place your template on top of
the clay applying gentle pressure. Holding your clay pick perpendicular
carefully cut around the heart shape required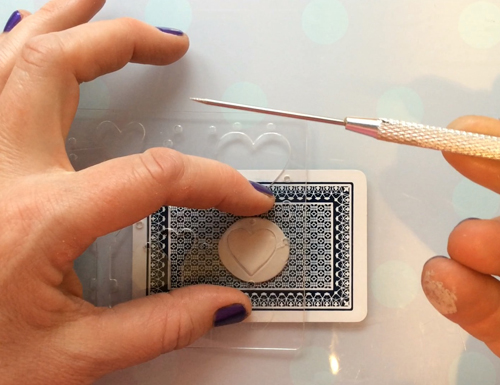
Step 4: Lift template off and using the
clay pick peel away the excess clay and place it back in its packaging before
it dries out.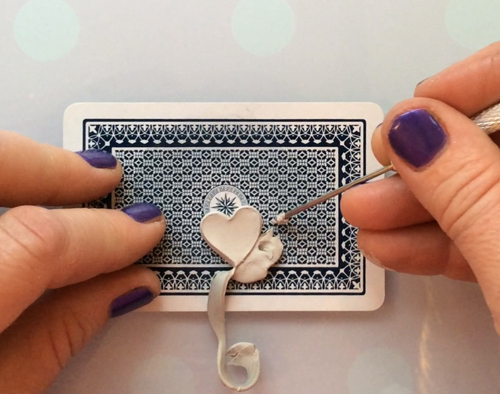
Step 5: Using the ball ended embossing
tools, gently indent the surface of the soft silver clay creating random concave
dots. Leave your silver clay heart to one side to dry thoroughly.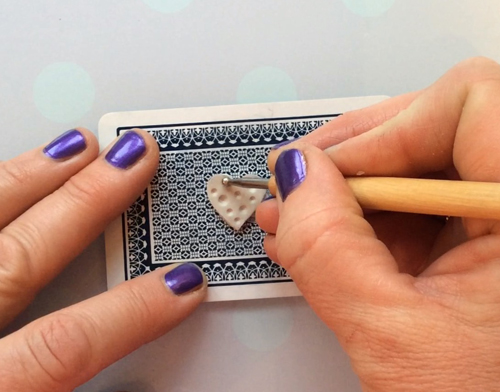
Step 6: Once dry, use the sanding pads to
gently sand the surface of the clay. Sand out imperfections and smooth edges.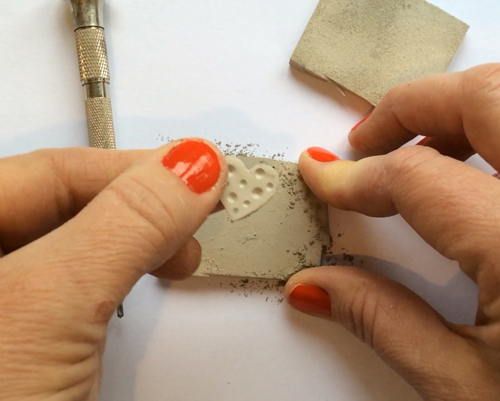
Step 7: Using the hand drill or pin vice, drill a hole in the top of one of the heart lobes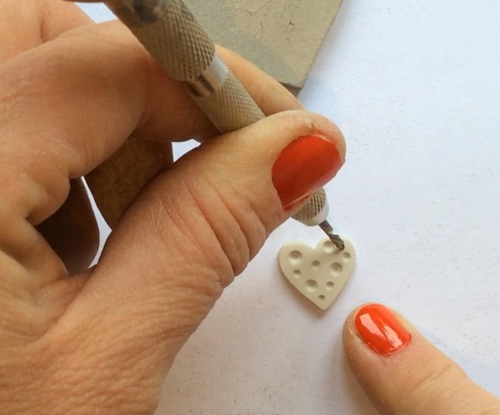
Step 8: Fire the piece by torch or kiln
as per instructions
Step 9: Brush the fired pendant with the
wire brush until the silver shows through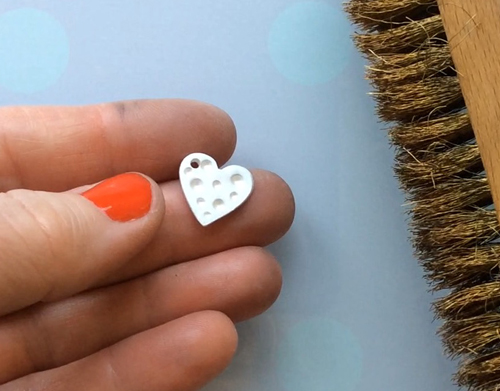
Step10: Using the agate burnisher apply
firm pressure and rub over all surfaces of the pendant including the edges. Do
not use the sharp point or you will scratch it.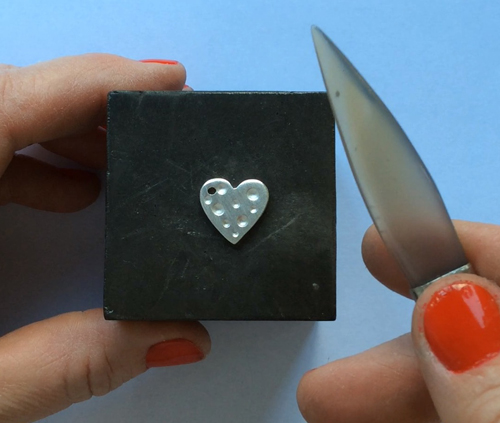
Step 11: Work through the polishing
papers starting with the roughest first. Applying firm pressure rub the pendant
vigorously up and down, front and back. Move on to the next grade of polishing
paper ensuring you turn the pendant 90 degrees each time. Continue to do this
until you have used all grades of paper and your pendant has a mirror finish.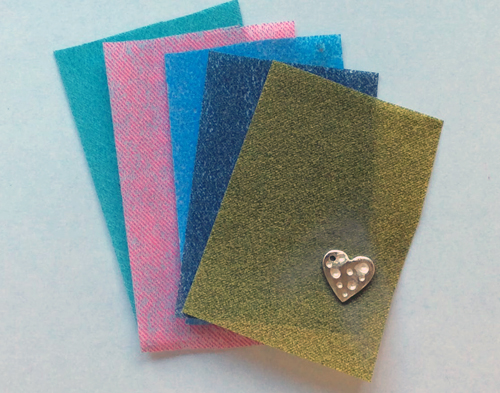
Step 12: Shake the coloured resin bottles
well before use. Put a drop of the colours you require onto a clean playing
card and mix with the UV crystal resin. Dip a tooth pick in a small amount of your chosen colour and carefully
drop or rub it into one of the concave dots on the surface of the silver. Pick
different colours for each dot. Resin colours can be mixed to create the colour
or shade you want.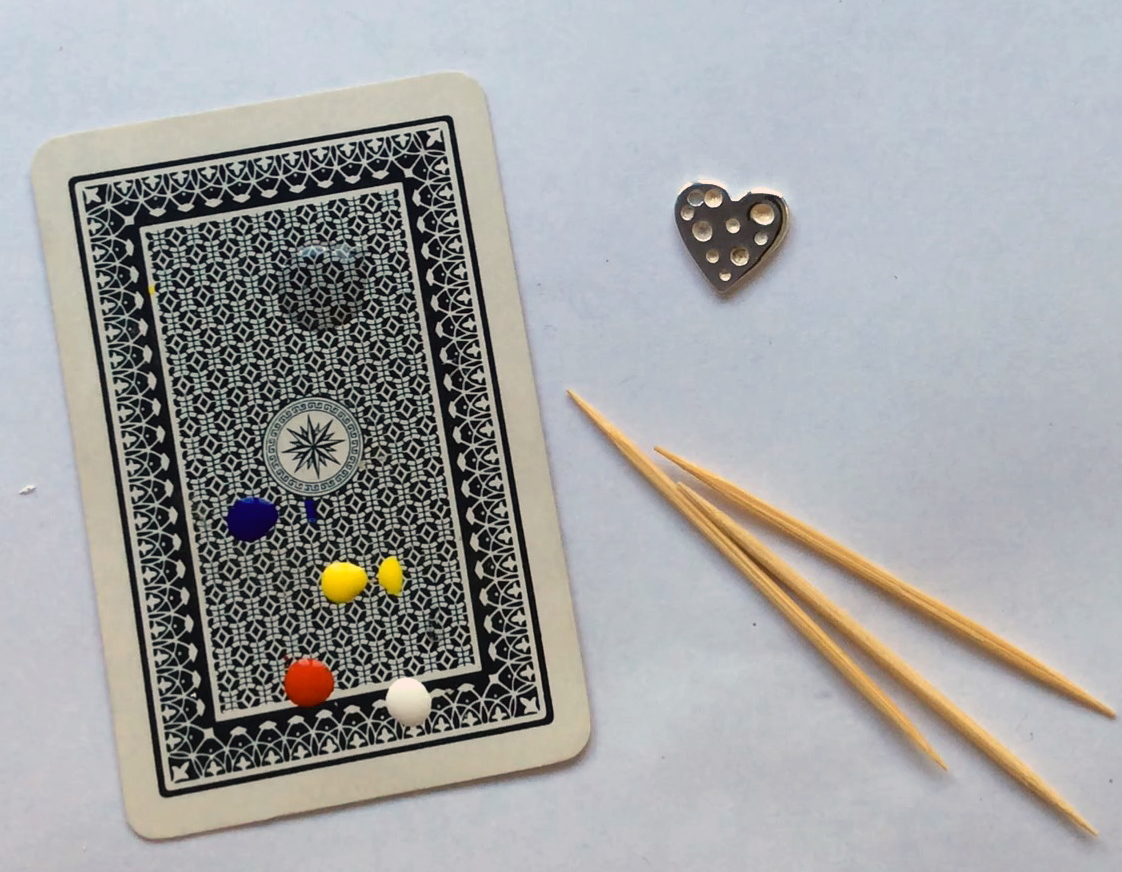
Step 13: Place the pendant under a UV
light to cure the resin. Further layers of resin can be added to intensify
colours if desired. Cure each layer before applying the next.
Step 14: Attach jump ring and chain.
See more of Grainne Reynold's work at www.facebook.com/TimestoTreasure.co.uk
