Design and make silver jewellery at home!
Hello and welcome! So you're interested in using silver clay?
(of course you are, it's magical!)
With silver clay you can make real silver jewellery at home, with a minimal setup of basic tools. You can create a piece from scratch in just a few hours!
Metal Clay Deluxe Kit- This kit was designed by our team here at Metal Clay Ltd and each product individually selected to give you a comprehensive and inspiring selection. Includes everything you need to get started, make, shape, refine, fire, and finish clay - plus a LOT more. You also get a detailed A4 instruction guide written by Petra Cameron with lots of hints and tips from our team!
Metal Clay Complete Starter Kit with Torch - a slightly smaller kit, but it still includes all the tools you need to get started, instructions, clay, and a torch set for firing.
WHAT TOOLS DO I NEED TO GET STARTED?
Click here for a list of the basic tools we recommend.
OK, I HAVE MY TOOLS READY, NOW WHAT?
Cut off as much clay as you need, and put the rest back in the little gripseal bag, wrapped in cling film with a wetwipe or damp tissue wrapped around it. Silver clay is air drying so it's important that you wrap any clay you're not working with up tightly straight away to keep it from drying out. Put the clay you are going to use in some cling film and knead it gently for a few seconds, just to soften it a little before you start working.
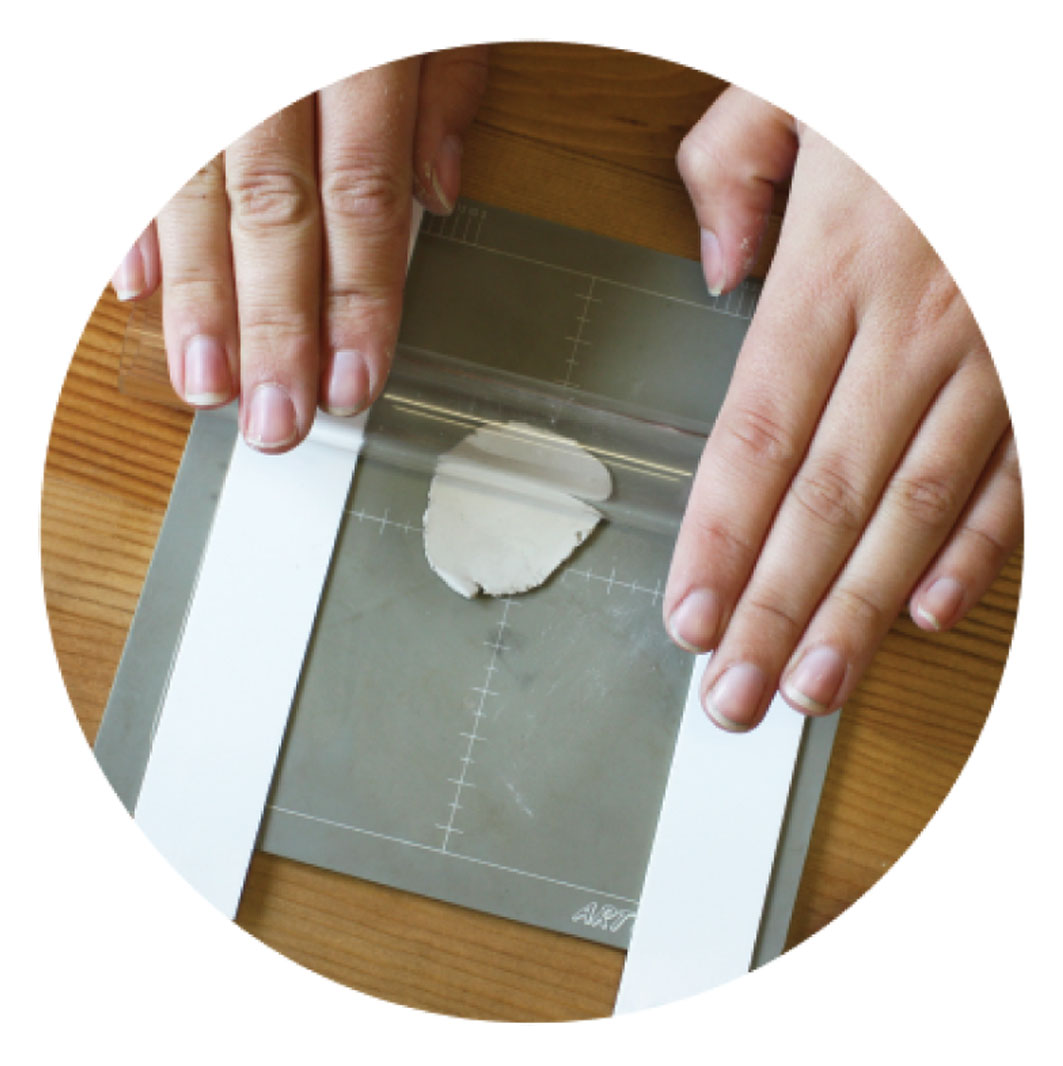
If you are rolling out your clay, do so on a non-stick surface. Use a damp finger or brush to smooth out and moisten the clay every now and then, if you are working with it for a long time. Don’t add too much water or it might get a bit sticky. If you are using cutters or textures, coat them slightly with a non-stick (Cool Slip, Badger Balm, or olive oil) before use to stop them sticking to the clay.
SO, HOW DOES SILVER CLAY WORK?

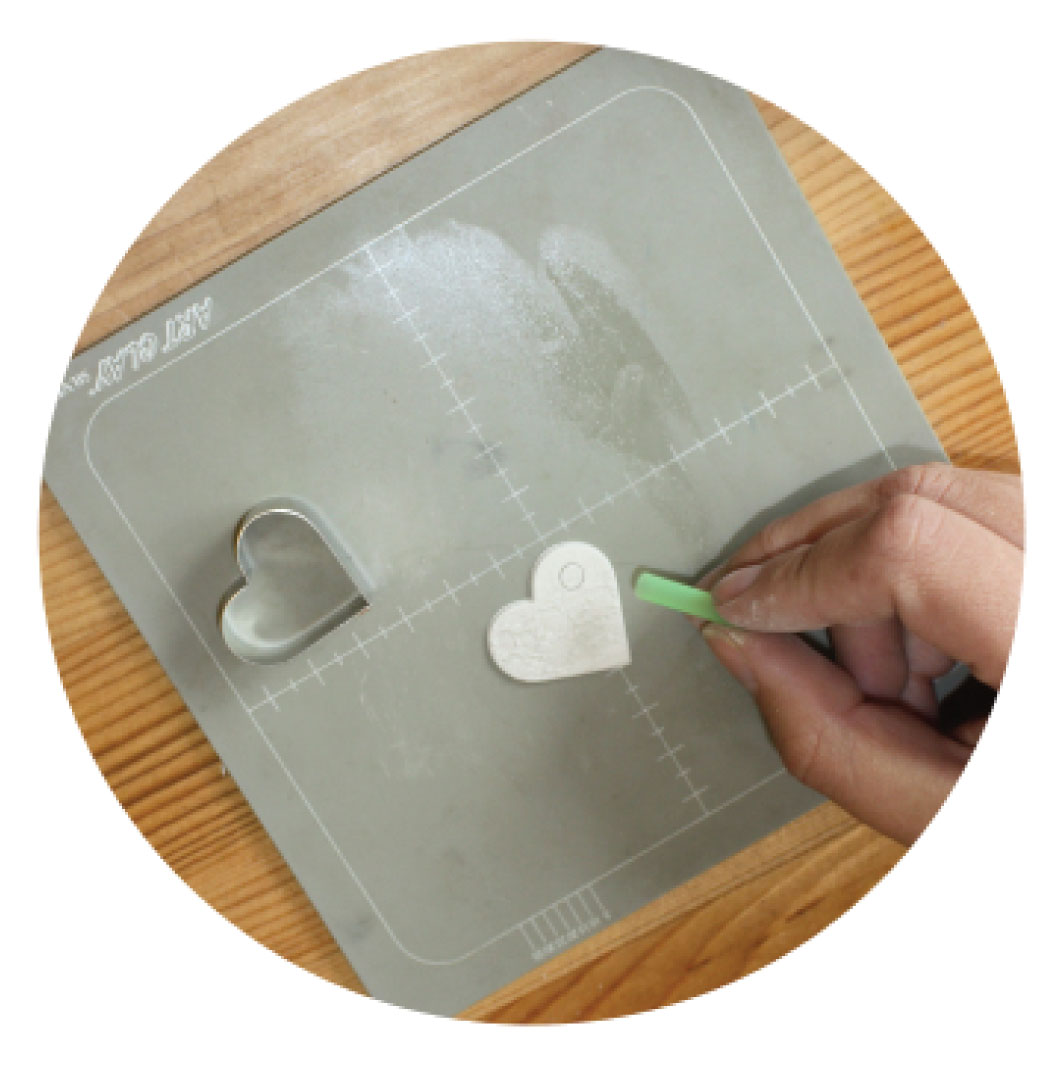
Step 2 - Create the shape

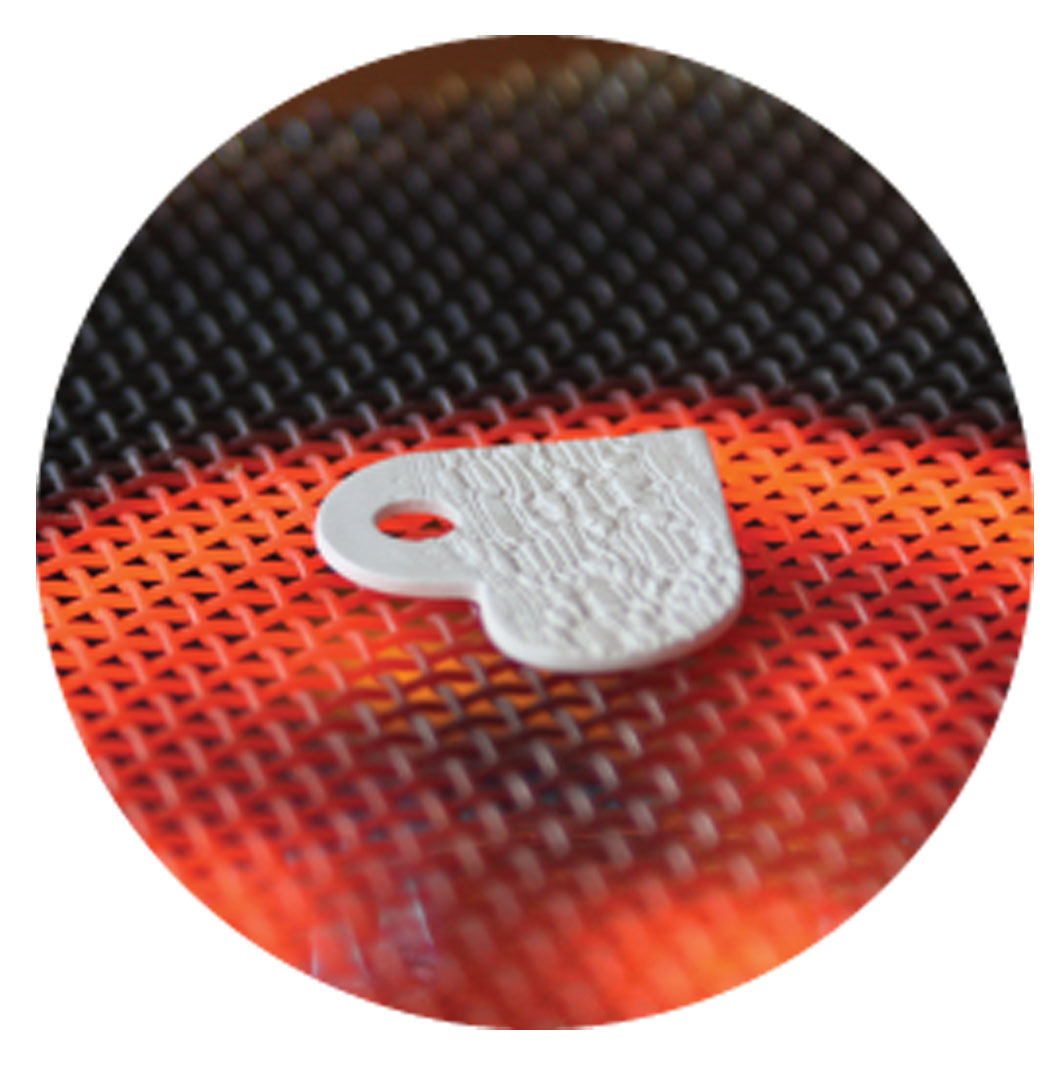
Step 3 - Fire and polish

Ta da, you're finished! Hang the piece on a chain or leather cord using a jump ring.

The other magical thing about metal clay is that it's a completely green product as it's made from 100% recycled silver and there's no wastage! All silver clay (dust, dried, broken, unfired, fired, etc) can all be reconstituted. So don't throw anything away!

