
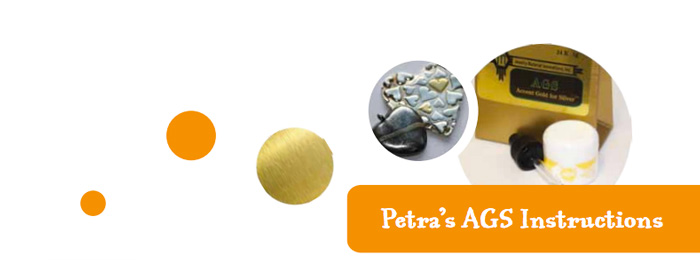
After extensive use of Accent Gold for Silver (AGS) over the last year, I have adjusted the way I use the AGS. When I was following the instructions included by the manufacturer I sometimes had problems with the AGS flaking off after firing. After experimenting with the product I’ve come up with a way to use it which works beautifully, and I want to share that with you. You’ll still find the manufacturers instructions in the box, but these are my personal recommendations on how to use the product.
PLEASE READ THROUGH ALL THIS INFORMATION BEFORE YOU START.
To mix
Add a couple of drops, no more than 4, of medium from the glass bottle and mix carefully with a straightened paperclip. Add a few drops of water (distilled is recommended, though I use tap water with no problems), add only one or two drops at a time. You want it to have the consistency of thick-ish single cream – if you scoop it up on a brush it should slowly drip off. The mixture should be completely smooth, no lumps or dry bits in it. After you have stirred it, scrape off as much as you can from the paperclip, and leave the rest to dry on the paperclip. When it is dry, simply flake it off back into the pot again – do this after you have finished using it so you don’t get dry flakes on your piece.
Next time you use it, just stir the flakes into the mixture.
Your mixture will dry up slowly over the weeks or months as it stands in the pot. Every now and then you can simply add a drop or two of water (again, distilled is recommended, though I use tap water with no problems), until it is the right consistency again. Always stir well before use.
Applying the AGS
I only apply one smooth layer of AGS. Applied properly this is all you need for a nice deep gold colour. I don’t put paste on before I apply the AGS (as per the manufacturer’s instructions), I just apply it straight onto the fired UNTOUCHED silver.
If the mixture is too thick, it will be very hard to apply it evenly, and it will look dry and flaky on the silver. You can add a little water to a small brush and use this to smooth out the AGS on the silver, but I would recommend you thin your mixture instead so it is easier to apply.
I apply it with a silicone tipped clay shaper, I find that much easier than using a brush. And, when finished, I leave it to dry on the clay shaper and then simply flake it off back in the pot again – no more lost gold from rinsing brushes!
Make sure the layer you apply is thick enough to cover the silver. If you can see silver shining through the gold, it could be that your paste is too thin, or you simply dragged the brush or clay shaper a little too hard against the surface. Carefully dab a little extra on where needed.
You want a smooth even layer – not something that looks like thickly applied grainy dry paste. Leave to dry naturally – don’t speed it up on a hotplate or with a hairdryer. I often apply the paste in the evening, dry overnight, and fire the next day.
Firing
I definitely recommend using a torch. The kiln doesn’t work as well, and the torch is very easy to use with a little practice. If you’ve fired metal clay with a torch, you’ll have no problems with this.
Heat up the piece to a nice soft glowing peachy colour. When you start to heat an already fired metal clay piece it sometimes goes a little brown, almost looking burnt, don’t worry, this will disappear as you keep heating it and it starts to glow. Keep the glow for about 2-4 minutes. Keep the glow consistent for the whole time. Adjust the glow by moving the torch nearer or further away from piece. Don’t heat it too much so it starts to go bright orange. Don’t focus the flame on the gold – keep it on the surrounding silver.
I also sometimes burnish the gold whilst it is still hot, a technique used in KeumBoo (bonding gold foil to silver using heat and pressure). I hold the piece carefully with tweezers or similar (don’t scratch it), and burnish the gold part to help it bond to the silver.
I then brush my piece using a very soft brass brush, which leaves a nice satin look on the silver; this is all I need to do if I don’t want it highly polished. You can then follow up with burnisher, polishing pads, tumbler, or liver of sulphur – depending on what finish you’re after.
I would love to hear what you think of the technique, and how it works for you.
