Setting Stones with Burrs
STONE SETTING WITH BUSCH BURRS
Create professional stone settings with this guide by the wonderful Joy Funnell!
Materials & Tools Needed:
- Non-stick work surface.
- Dried Art Clay Silver Clay piece.
- Pencil to mark clay.
- Dish to collect silver dust.
- Fireable round gemstone.
- Busch Stone Setting Burr
(same size as your chosen gemstone).
- Various sized drill bits.
- Kiln, torch, or gas hob to fire the piece.
- Brass brush.
- Burnisher.
The tools & materials needed are listed below.
Scroll down to shop. ⬇️
Watch the FREE TUTORIAL!
STEP BY STEP GUIDE
-
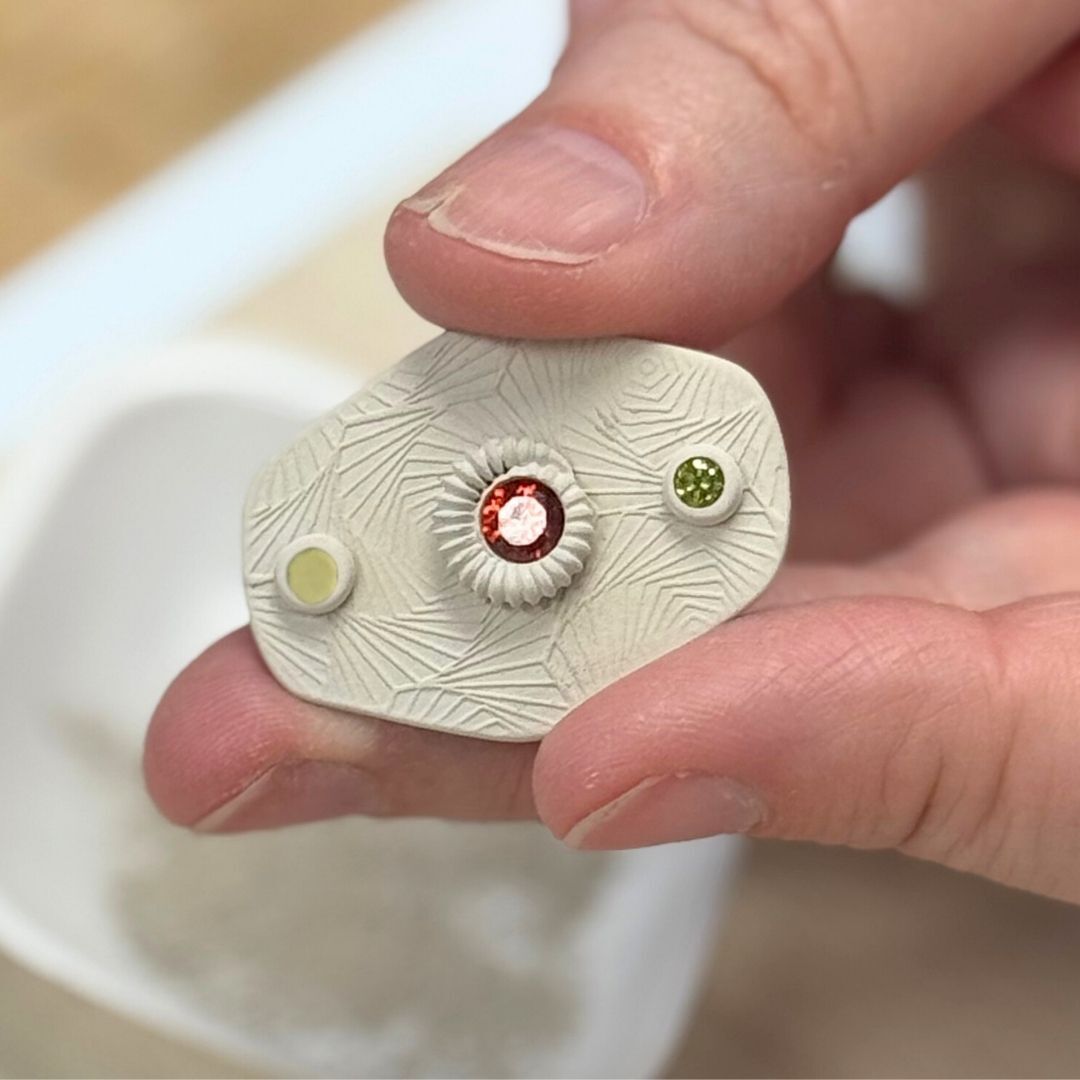
PREPARE YOUR DESIGN
Make and dry your metal clay. Decide where you’ll set your stones and mark the centre using a pencil. If the piece is thinner than the stone is high, use raised layers that are thick & wide enough - take into account the shrinkage. Raised layers can be plain, or part of making the design interesting when decorated, textured, or shaped from a mould. The fossil design in the centre of Joy’s piece was made with the Roll Maker Set.
-
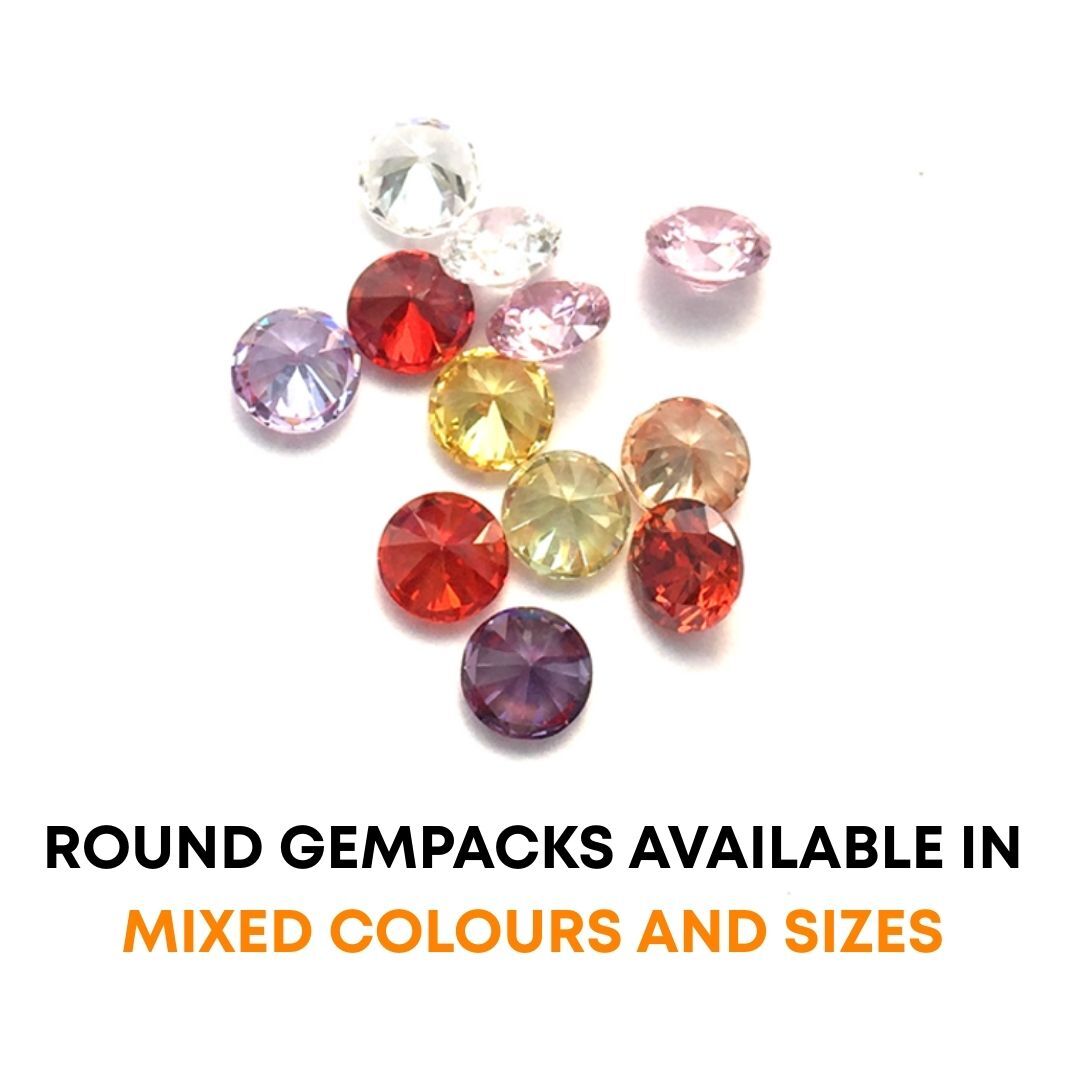
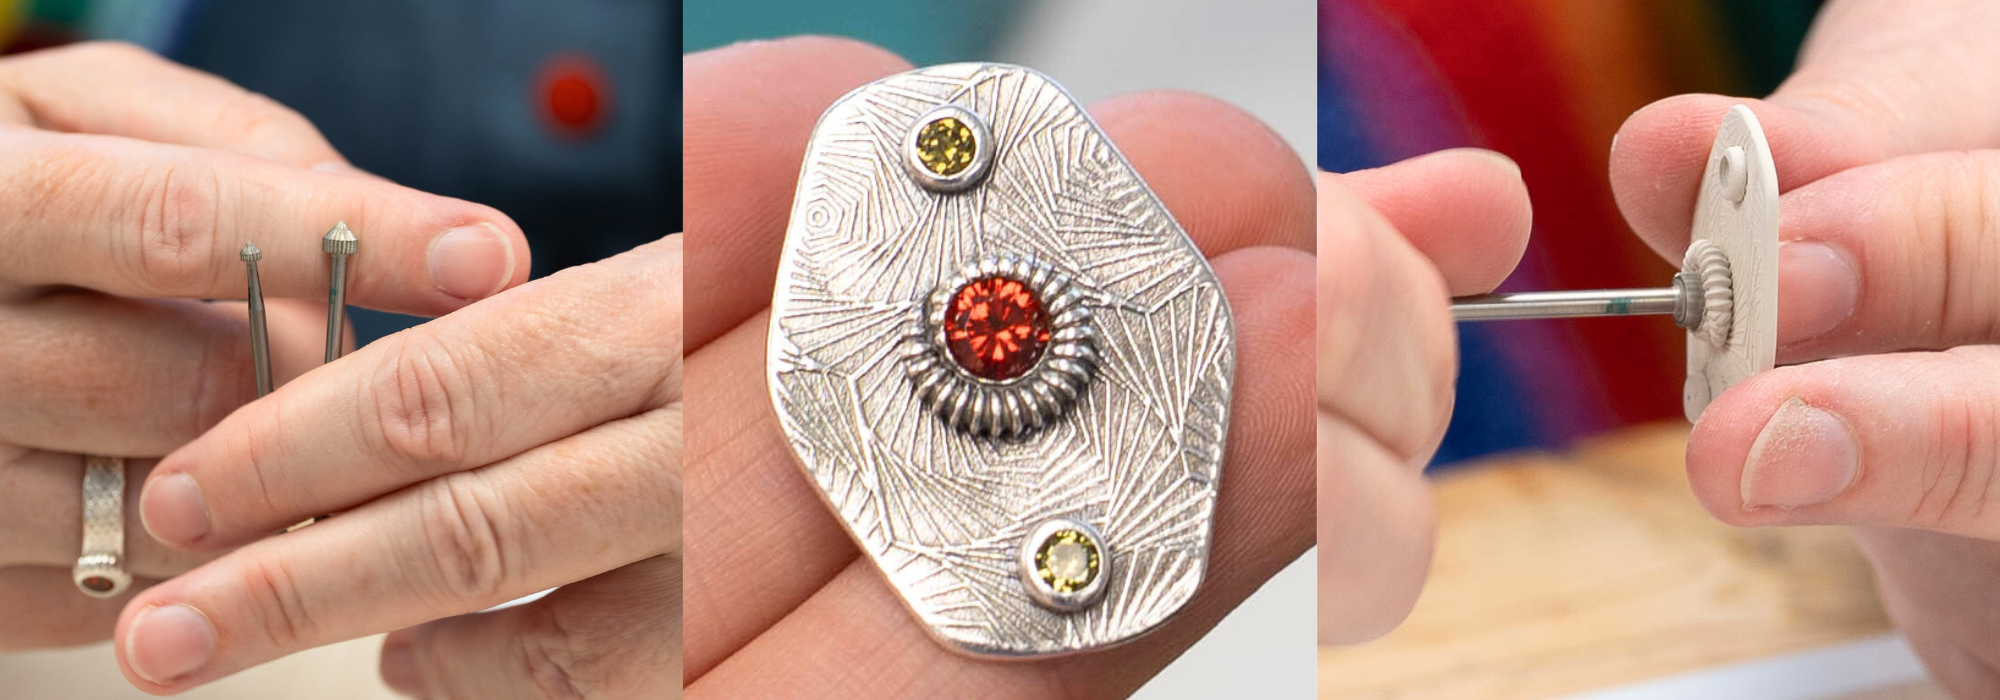
CHOOSE YOUR STONES & BURRS
Choose a fireable gemstone and gather a Busch Burr that is the same size as your chosen stone, so a 3mm stone use a 3mm burr. You’ll also need a smaller drill bit to create a pilot hole.
-
DRILL PILOT HOLE AND AZURE
Find the mark you made earlier. Use the smaller drill, position it in the centre of your mark, hold perpendicular and start drilling. Support the back of the piece with your hands or on a rubber block, depending on what you’re comfortable with. Drill all the way through. You usually leave a hole behind a stone to aid cleaning and (depending on the design) its an “azure” which lets light in from the back of the stone = sparkle! Start with a small drill bit and work your way up if you intend on setting a larger stone. Use a diamond dish to save your valuable dust from drilling - turn this into paste or clay again.
-
CREATE STONE SETTING WITH BURR
Now use the Busch burr to create the shaped hole your stone will sit in. Position your burr in the centre of the hole, and start turning gently. Keep the burr perpendicular, you don’t want an oval or wonky hole for the stone. Support the back of your piece. The stone should sit deep enough to not be pushed out during firing when the clay shrinks. The surface (“table”) of the stone should just about level with, or ever so slightly under, the surface of the clay. If the stone sits too high, continue carefully twisting the burr until the correct depth is achieved.
-
FIRE THE PIECE
Fire your silver. Go to the product description for the clay you are using to find out firing times & temperatures.
-
FINISH AND POLISH
Clean your silver using a brass brush. If using a jewellery quality brass brush it won’t damage fireable CZ type stones. For added shine, burnish the surface and edges. If you don’t have a burnisher, you can use a metal knitting needle or the back of a smooth spoon.
SHOP TOOLS & MATERIALS